The tilting arbor on a table saw is one of those features that can easily be overlooked, but let me tell you, it’s an absolute game-changer when it comes to bevel cuts. As someone who’s worked on a number of furniture-making projects, I can attest that having the ability to tilt the blade makes jointing and fine-tuning cuts so much easier. Sure, you could get by without it, but it would definitely make some cuts far more difficult. Most cuts are made at a right angle, but when you need a bevel or angled cut, tilting that blade is key to achieving the accuracy and precision you need.
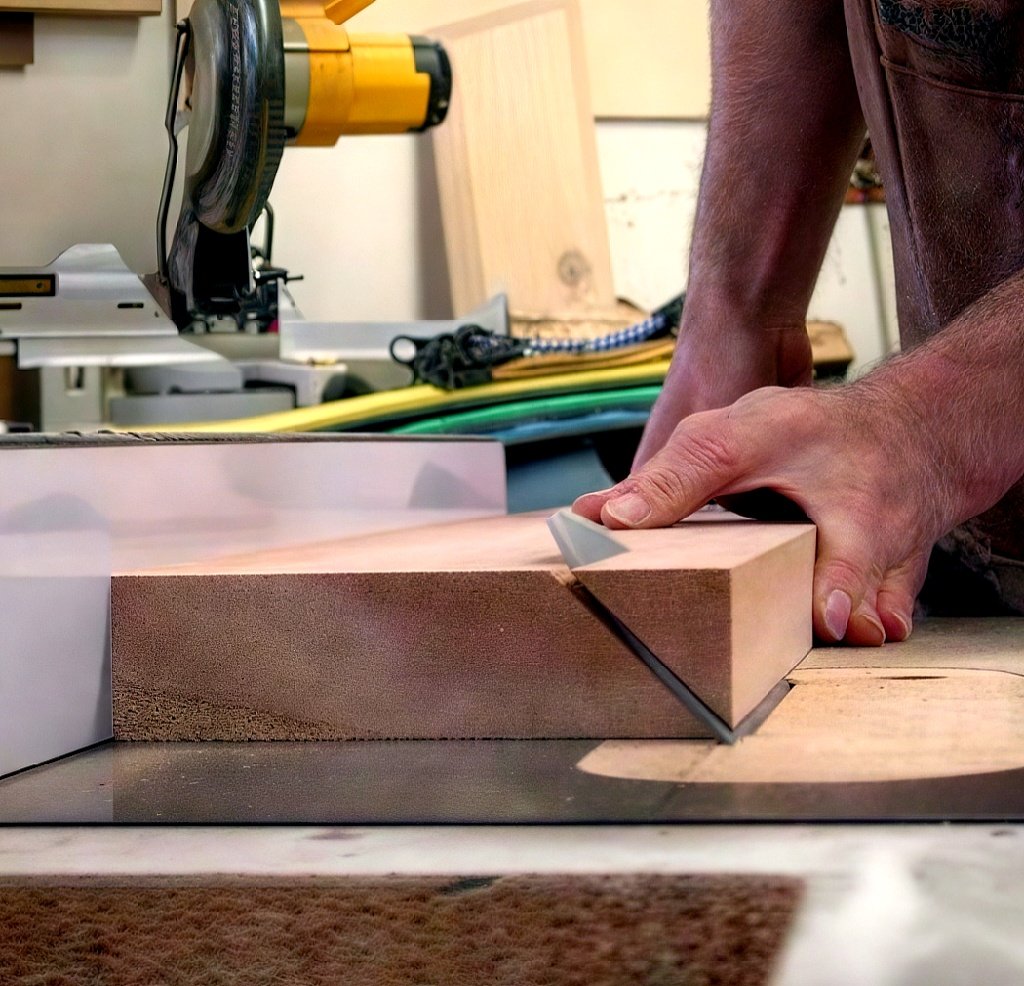
After all, when you’re working on a piece of fine furniture or cabinetry, those angled cuts are everything. I remember trying to make a beveled edge for a table I was building—without a tilting saw, I would have been left with jagged, uneven cuts. It wasn’t until I finally invested in a table saw with a tilting blade that things really started to come together for me.
Left or Right Tilt?
Left Tilt vs Right Tilt
One of the choices you'll need to make when buying a table saw is whether to go for a left-tilting or right-tilting arbor. It seems like a small detail, but depending on how you plan to use your saw, it can have an impact on your work. Personally, I don't think there's a significant difference between the two, but I will say this: you might notice some minor mechanical differences. In my early days of woodworking, I wasn’t sure if I should go with a left or right tilt, and I ended up choosing a left-tilting saw. I had a lot of doubts at first, but it ended up being a good choice overall.
Here’s what you need to know: left-tilting saws tend to have the motor placed to the left of the operator. That sounds pretty straightforward, but it can create some challenges, particularly when you start adding accessories like a sliding table or router table extension. I’ll never forget trying to attach a router table extension to my left-tilting saw for the first time. I had no idea that the motor would get in the way, and it led to a bit of frustration. The motor cover blocked the extension, and I had to get creative with how to make it fit. If you plan on using accessories frequently, a right-tilting saw might be a better choice, as it will avoid these types of interference.
I’ve also found that left-tilting saws can create a gap when it comes to fitting certain accessories, like router tables made for right-tilting saws. I’ve tried both configurations, and there’s no doubt that having a motor-free zone on the right side makes attaching extensions and accessories a smoother process.
Hand Wheel and Fence Considerations
The Tilt Hand Wheel
Here’s something I learned early on when using table saws: the placement of the tilt hand wheel matters more than you might think. Most left-tilt table saws place the tilt hand wheel on the right side, which is great if you’re right-handed. It just feels natural to use the wheel in that position, and I remember how much easier it was when I didn’t have to reach across the saw to make adjustments. On the flip side, if you’re left-handed, a right-tilting table saw with the wheel on the left might be more comfortable. I’ve used both setups, and I can tell you that after a while, you get used to the ergonomics, even if the placement isn’t ideal at first.
Now, fences. I’ve used both fixed and adjustable fences on my saw, and while they may seem simple at first, they’re crucial for accuracy. Most fences are mounted to the right of the blade, but there are some designs that allow the fence to be used on both sides of the blade. In my experience, these are the most versatile, especially when you’re working with larger pieces of wood. I once found myself needing to make a cut on the left side of the blade, and I was so glad I had that option. That flexibility saved me time and hassle.
However, if you’re adding a sliding table to your saw, keep in mind that fence placement becomes a little trickier. The sliding table will prevent you from using the fence on the left side of the blade, which can be a bit of a setback. I’ve had to make some adjustments to my workflow when using a sliding table, but it’s always been worth it for the smooth, precise cuts I can achieve.
Accuracy
Dado Blade Accuracy
Accuracy is one of those things that’s often taken for granted until you find yourself in a situation where it really matters. For example, when using dado blades, you’ll need to adjust the fence for different measurements—this happens every time you swap out a blade with a different kerf size. The good news is that both left-tilting and right-tilting saws can handle dado blades, but there’s a noticeable difference in how much you’ll need to adjust.
When using a dado blade on a left-tilting saw, you may need to adjust the fence by as much as an inch to accommodate the different kerf sizes. I remember the first time I used a dado blade on a left-tilting saw—it was a bit of a surprise when I realized just how much the blade shift could throw off the measurement. Fortunately, I quickly learned how to adjust the fence for better accuracy, but it did take some getting used to.
On the other hand, using a dado blade on a right-tilting saw only requires a minor adjustment—typically less than 1/16th of an inch. While this is still not ideal, it’s far easier to fix and doesn’t throw off the cut as much. I’ve used both types, and when I upgraded to a right-tilting saw, I definitely noticed how much less I had to adjust for accuracy, especially with dado cuts.
Conclusion
Choosing between a left-tilting and right-tilting table saw is ultimately a personal choice, but it’s one worth considering carefully. I know I was torn between the two for a while, but after using both, I found that the right-tilting saw suited my needs better in the long run—especially when it came to accessory compatibility and dado blade accuracy.
No matter which type you choose, though, the ability to tilt the blade is a must-have for many woodworking projects. Whether you’re beveling edges for a beautiful piece of furniture or making precise joint cuts, a tilting arbor will make your work more efficient and precise. Just remember: take the time to adjust your fence, watch your measurements carefully, and always keep safety in mind when working with powerful saws. Trust me, the effort you put into understanding these adjustments will pay off in the long run with more accurate, professional-looking cuts.