You can get the updated guitar stand plans, but if you are feeling like you want the extra challenge you can try with hand tools like I did here
Handcrafted guitar stand? Or just hand assembled?
Designing the stand
I made this first guitar stand with a humble collection of tools: a coping saw, a few chisels, spokeshave and Japanese style cross cut saw.
The first prototype of what I now call the Kompsos guitar stand, I made for myself in 2019. I saw some existing guitar stands that had some of the elements that I wanted for my personal guitar stand but some of the lines just seemed to not really flow the way I wanted them to.
I began the project with a rough sketch on paper, I remember having an idea of the harmony of curves I wanted but I needed to flesh it all out and get something physical I could look at.
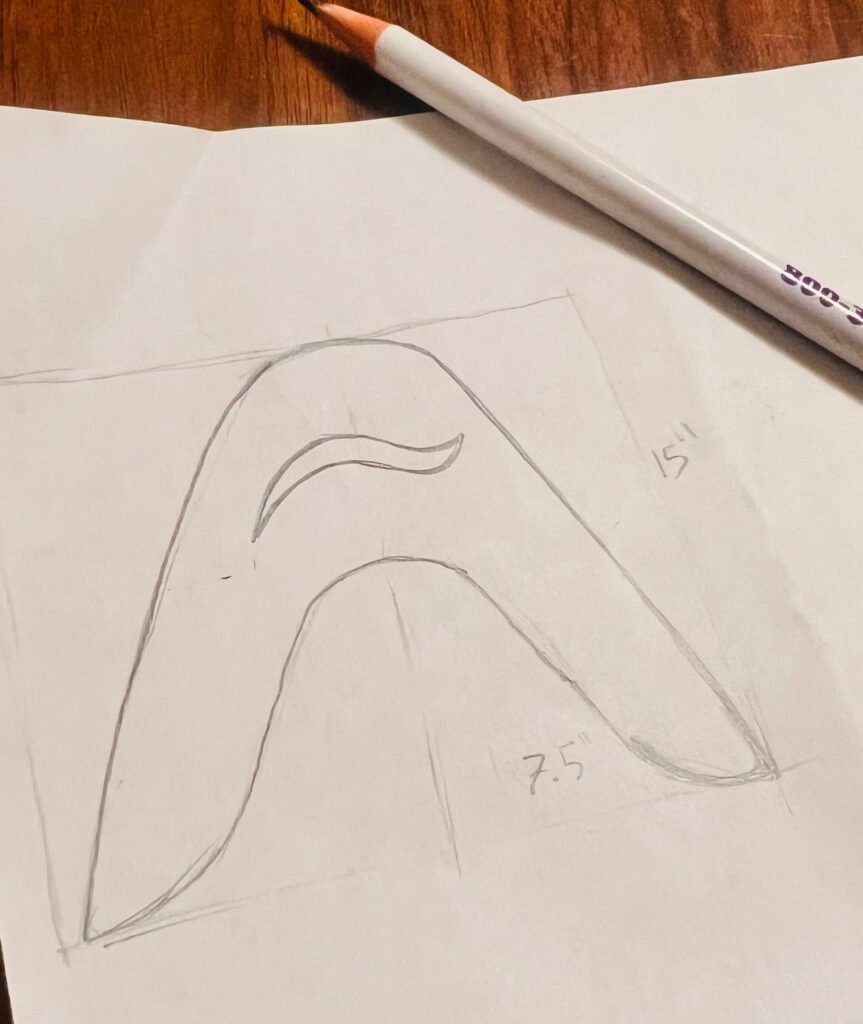
One of the challenges of making smooth curves that seem natural is that you need a natural curve to reference.
Look at the way a thin strip of material bends, it generally makes a beautiful curve free from the irregularities you would find if you were to just freehand draw a large curve.
The way I decided to approach this problem was by using a thin piece of wood with pivot points the wood would bend around. I figured this was a better way to get a flowing curve without having an expensive laser cutter or cnc machine to make a template with.
I started with a simple thin strip of pine I ripped to about a 3/8 of an inch thick.
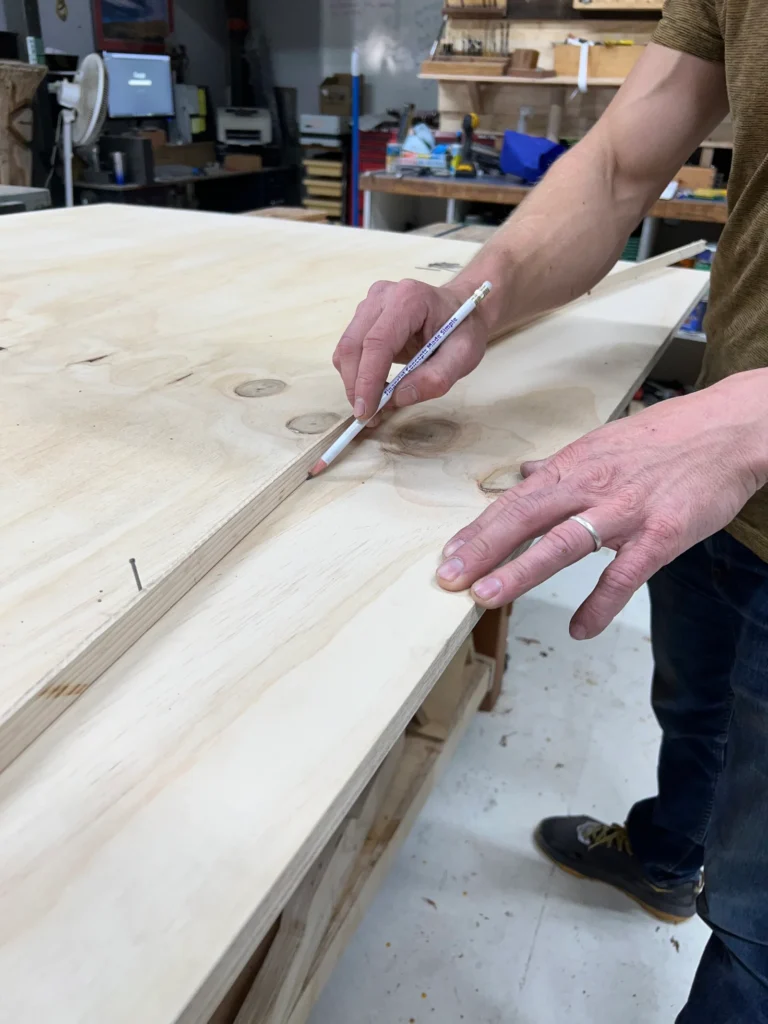
From there I took a piece of plywood and started putting in finish nails in the places I wanted the curves to change direction. This was a trial and error process and slowly I got closer and closer to a curve I thought flowed nicely.
Shaping the base
The next challenge was to make a base profile that complimented the curve of the top piece. During my initial build, I shaped half of the base. This allowed me to get a profile I was happy with and then replicate it on the other half. If I had tried to shape the base as one piece it would be close to impossible to shape both sides symmetrically. The glue-up proved tricky to clamp and I decided to make my life even harder by adding a piece of curved maple as a joining piece between the two sides.
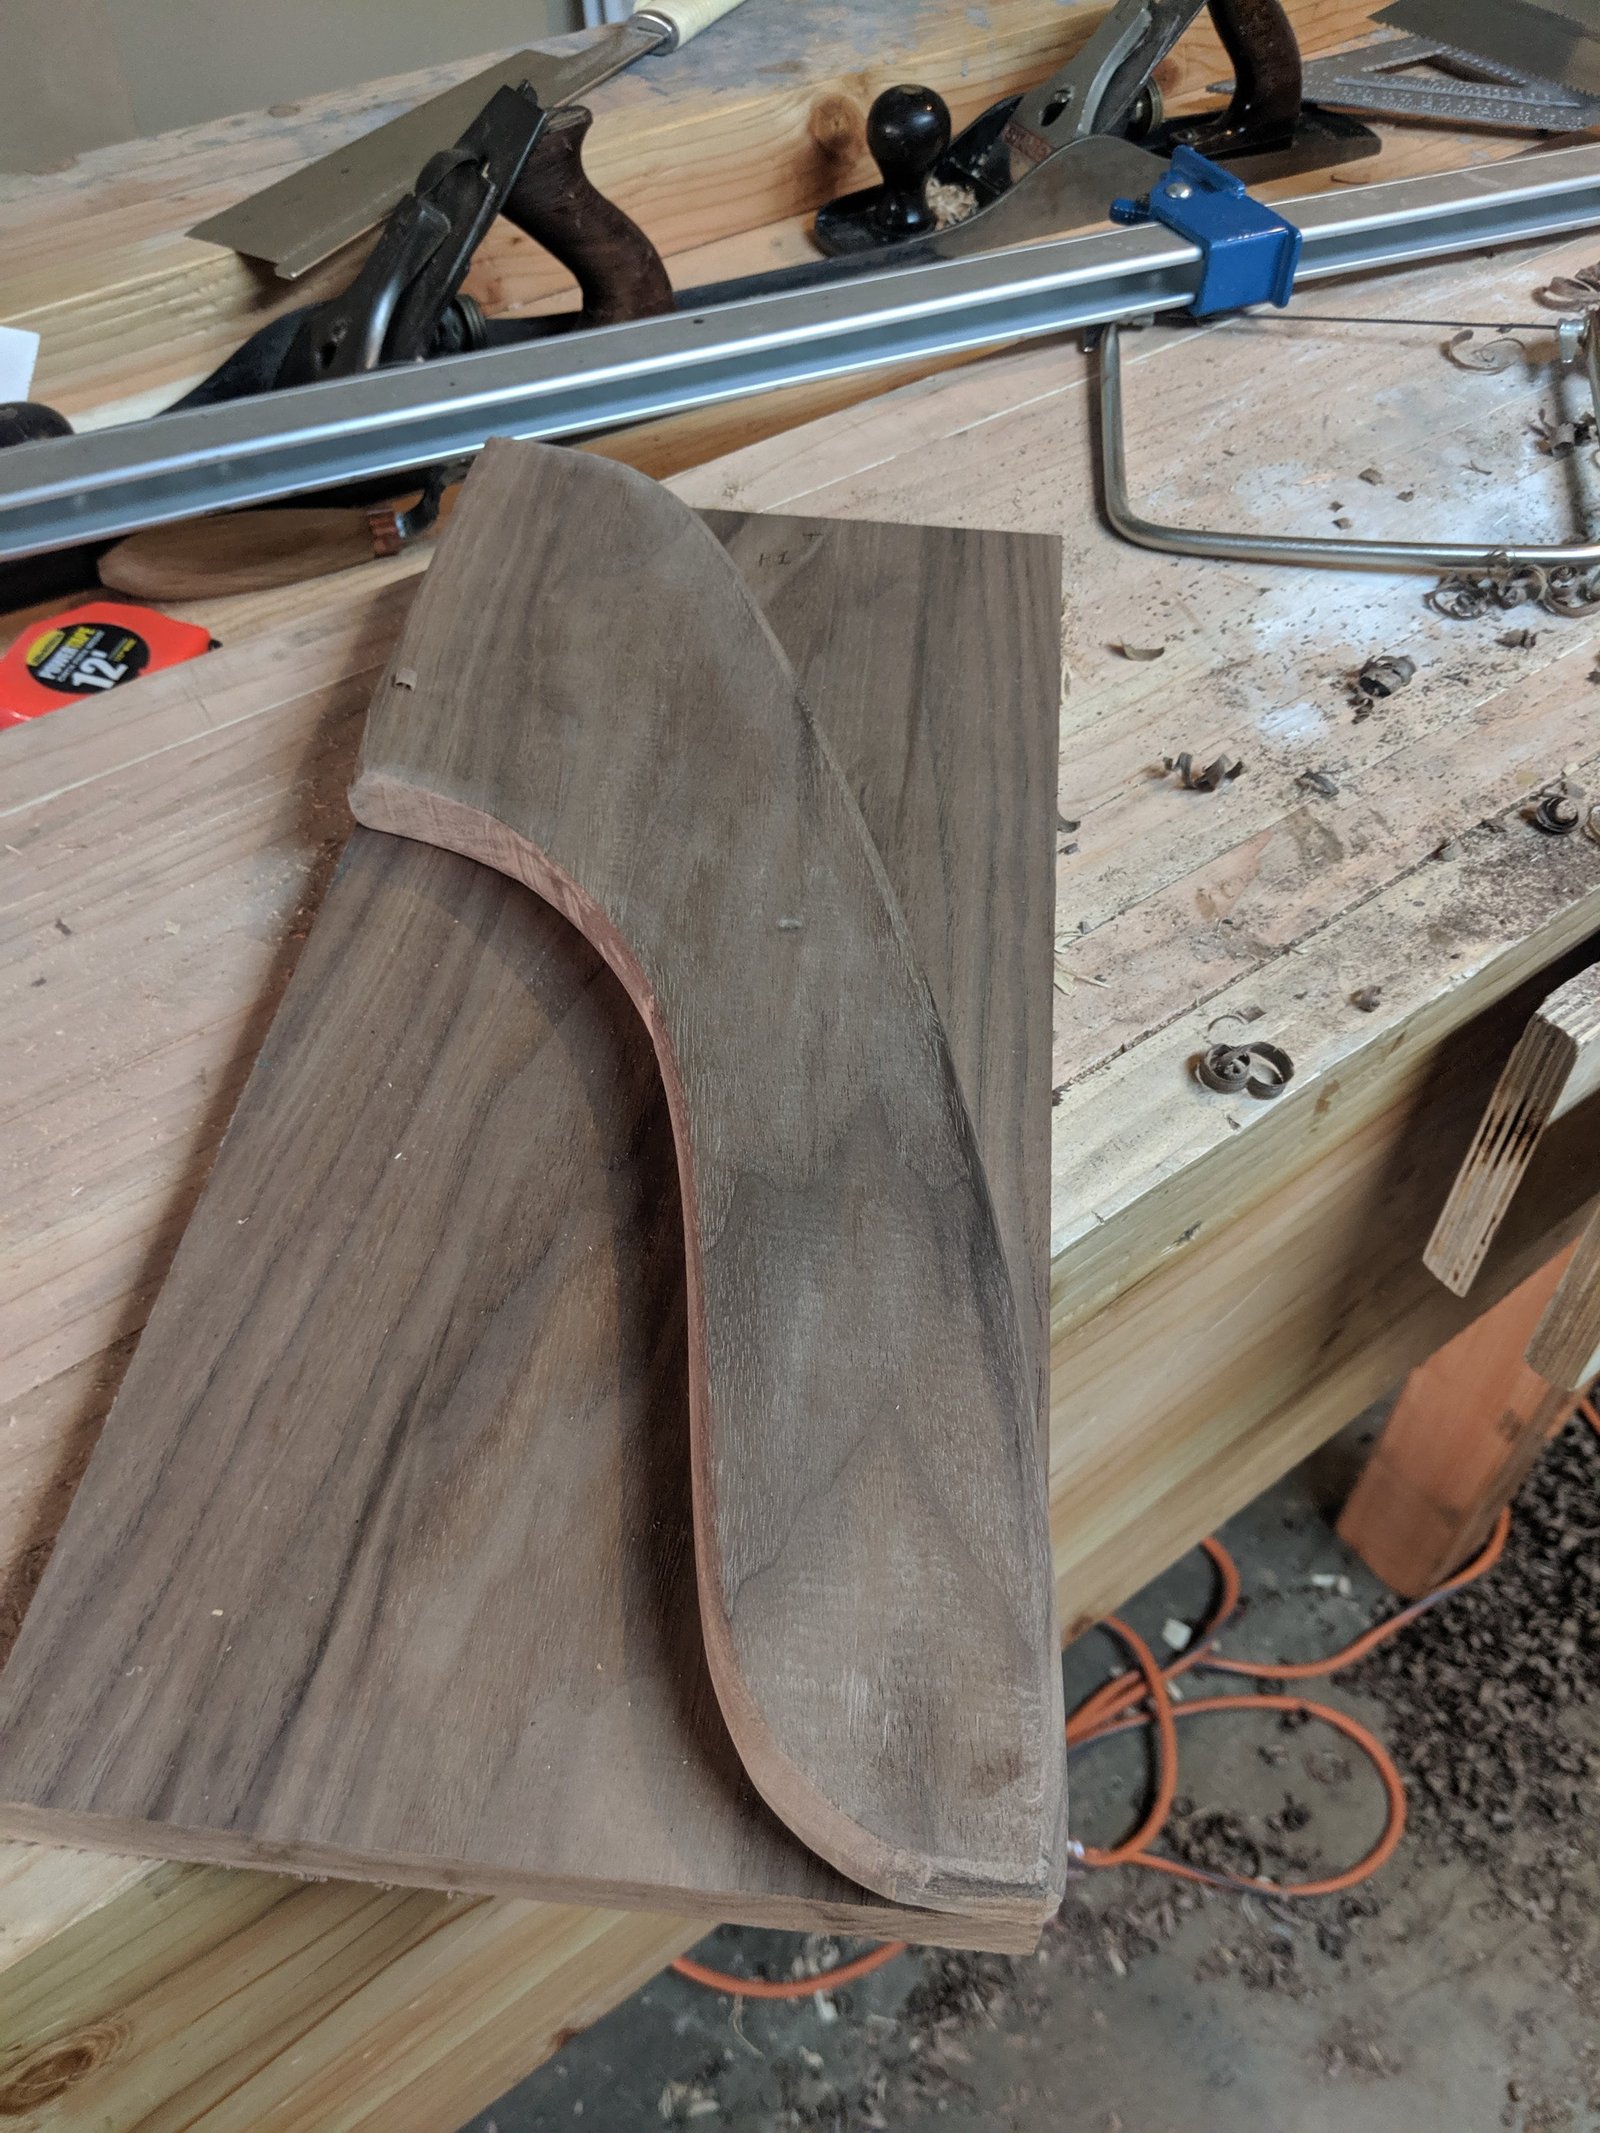
First half of the base
I traced out the first half of the base and cut out the rough shape with a coping saw.
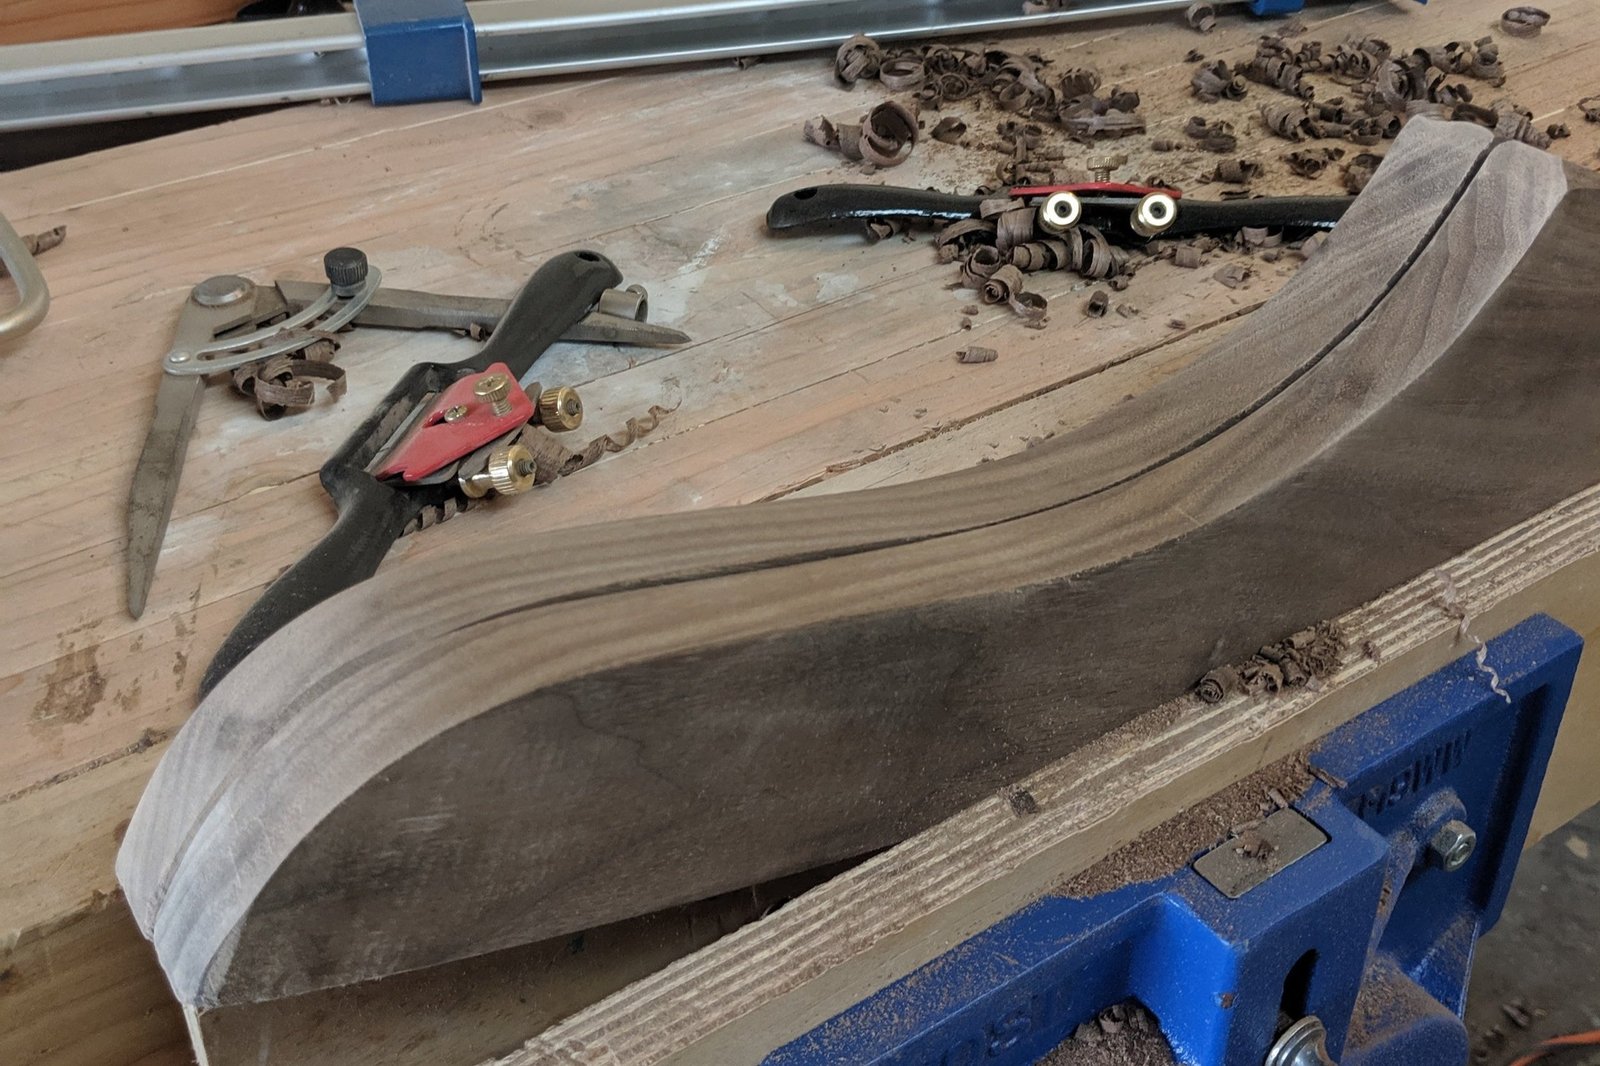
Joining the base
I traced the profile onto both pieces, once I had cut out the maple piece and began chiseling out the waste, careful to stay clear of my pencil lines. I used the narrowest chisel I had, once it came time to finalize the shape.
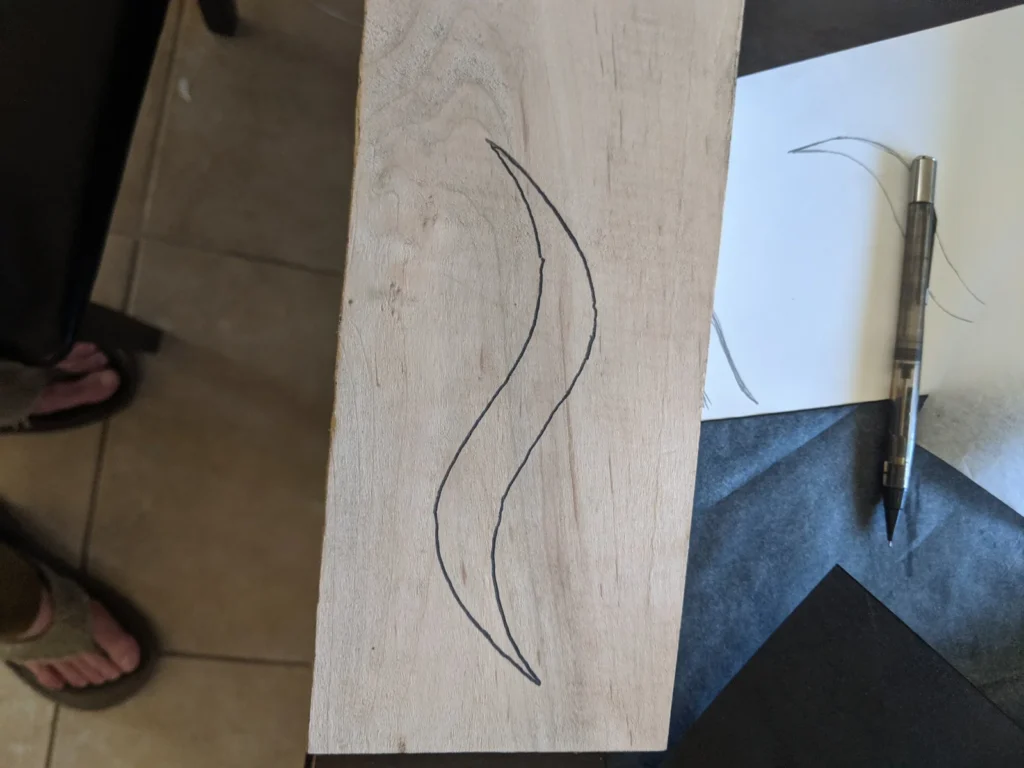
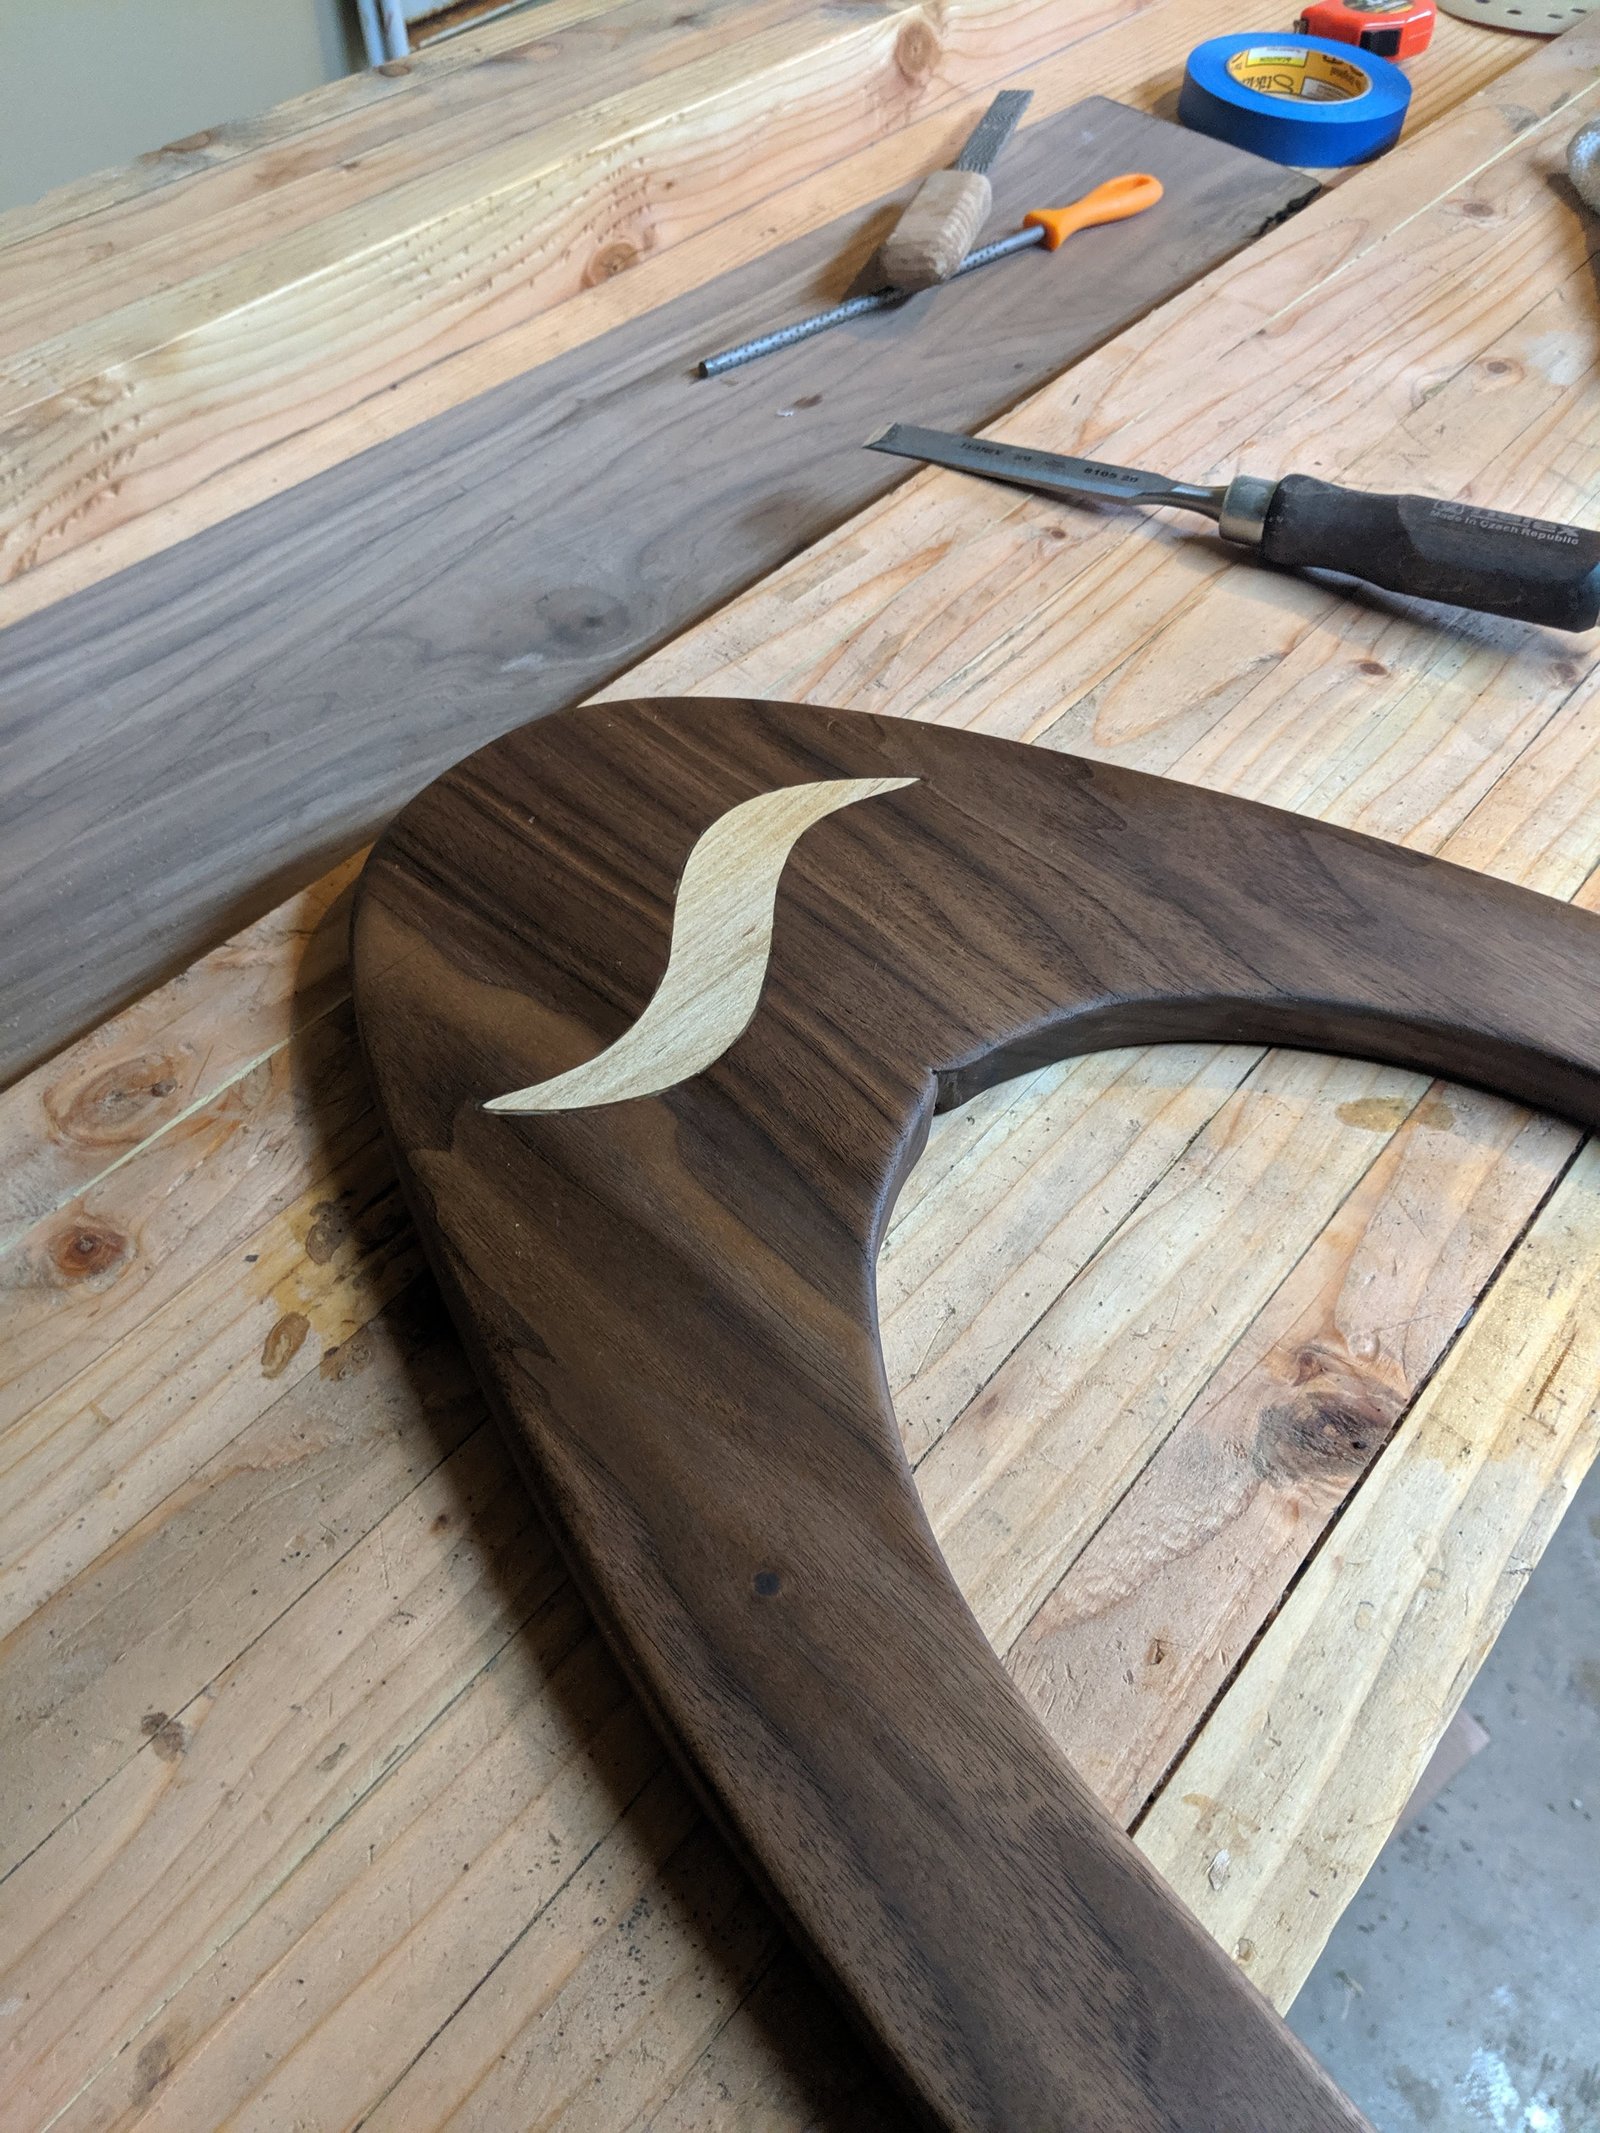
The two halves of the base joined.I didn’t get the perfect fit I wanted so I filled the gaps with sawdust and glue
For the final portion of the original guitar stand, I also decided to do the hard way based on the materials I had on hand. While the current stand I have now, I use a 1/4 20 threaded insert that screws directly into the upper portion of the stand. While I was making the original I removed the t-nut that came with the String Swing and used that embedded in a piece of wood. The threaded insert is a much simpler solution but I didn’t want to wait to order one.
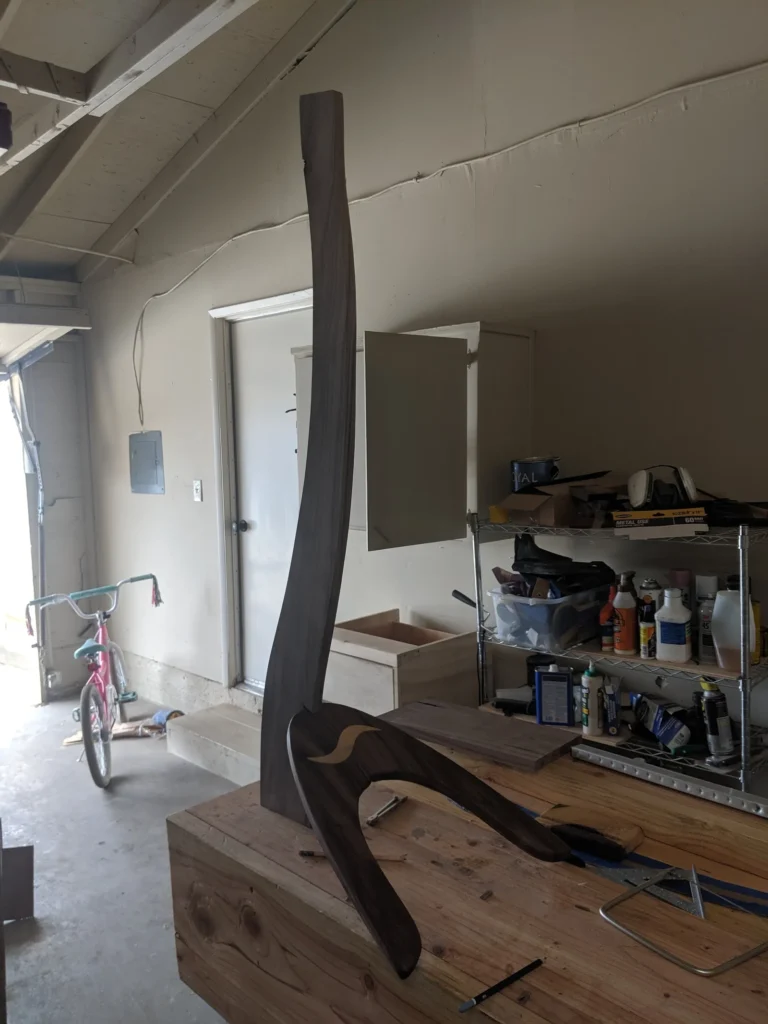
Updated design
My updated design that has a much more streamlined production. I still like the joining detail on the base of the first one but it would be very difficult to make production models using that design. Possibly if the piece was just an inlay cut on a router it could work, but the final pass would have to be with a very thin end mill as the detail comes to a fine point and not a thick radius edge.
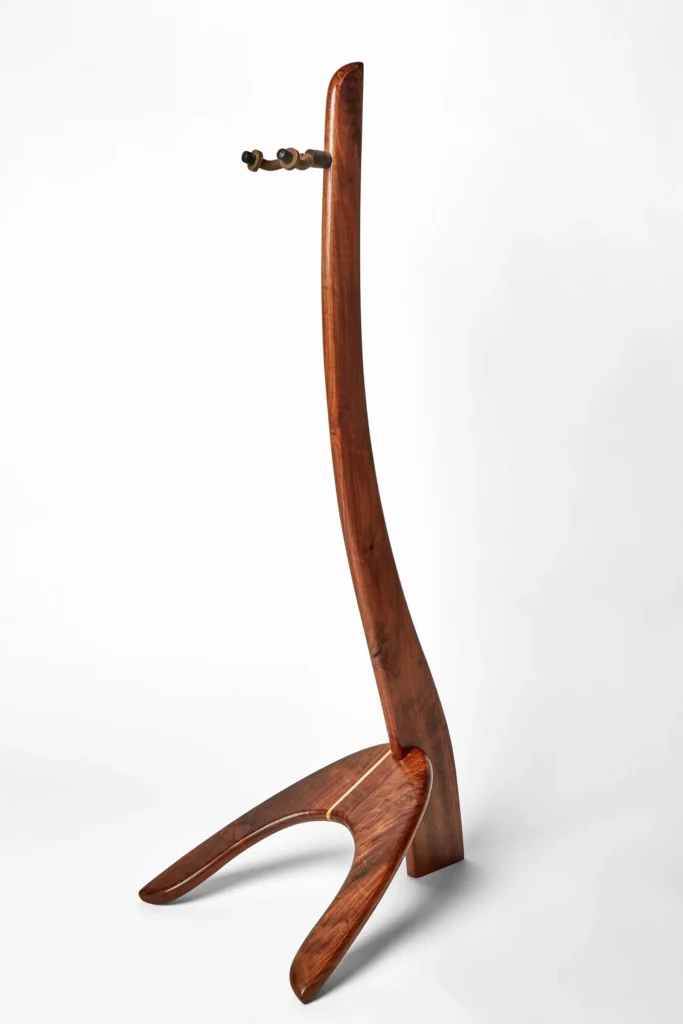
I will have a detailed plan for those who want to make their own guitar stand using the current methods I use. It is a fun project to get your feet wet cutting curves, making and using router templates.
For those who don’t want to make one, you can always buy one here. 🙂
Thanks for reading,
